How to Stamp Golf Club Wedges
Customize Your Golf Wedges With Metal Stamping
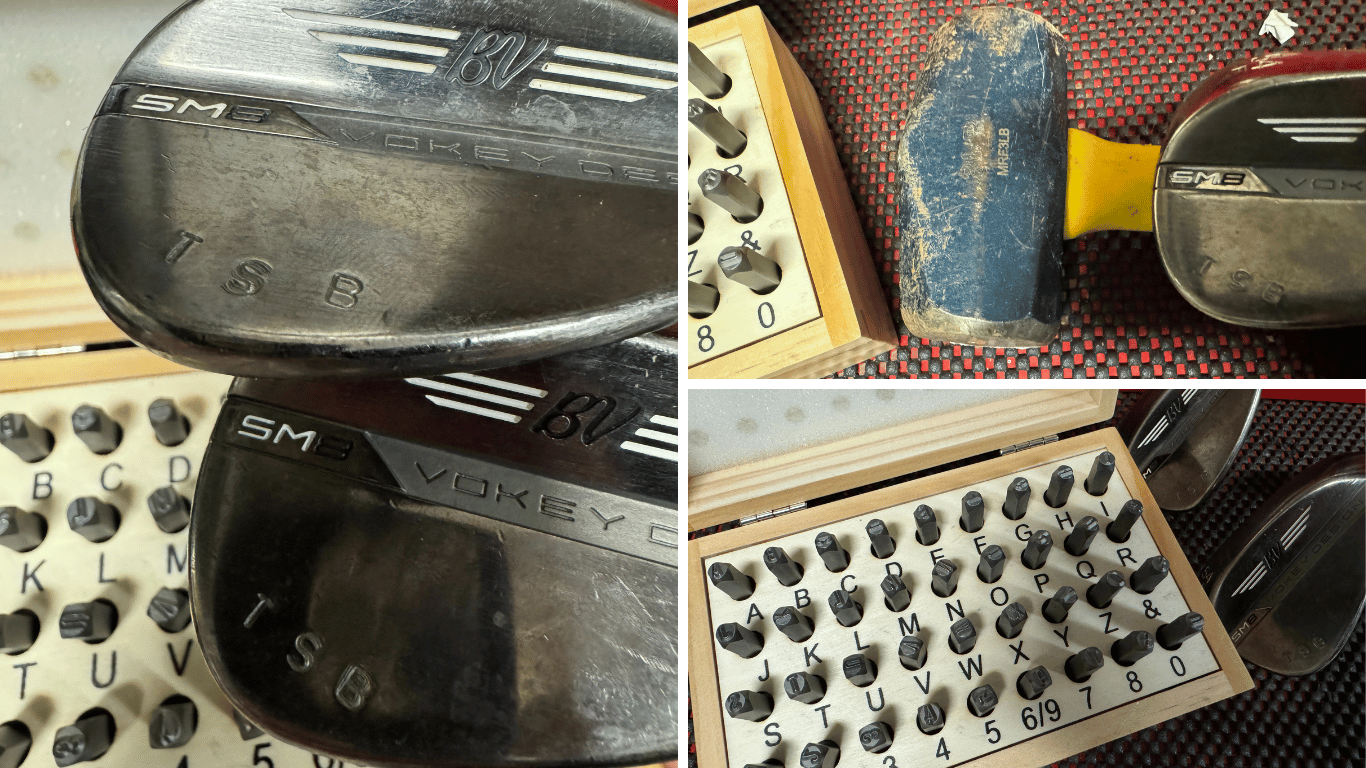
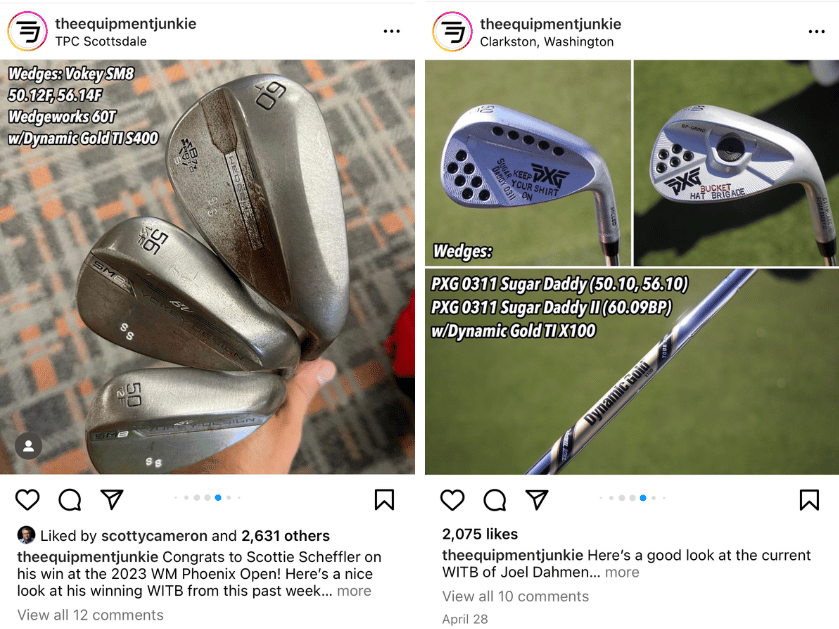
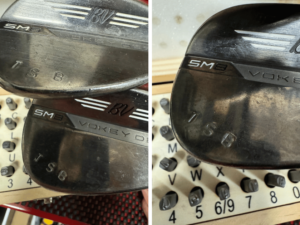
If you love your gear you will play better… right? Look sharp, feel sharp, be sharp. I always thought it was super cool that PGA pros had stamped wedges. Adding some custom swag to their clubs. So I decided to give it a shot with a cheap Amazon Metal Stamping Kit. Turns out, it is quite easy and takes under an hour. Wedge stamping not only makes your clubs stand out on the course, but it also helps you identify your clubs easily. In the below guide, we’ll walk you through the steps to stamp your golf club wedges effectively.
TB Quick Hits (Summary)
- Stamping your wedges adds a nice custom touch
- Metal stamp kit is less than $25
- Add your initials or anything that may give you confidence
- Takes less than an hour
- All you need is the kit, weighted hammer, and your clubs
What You’ll Need To Stamp Your Clubs
Before you get started, you’ll need a few tools and materials:
- Metal Stamping Kit – I used this Amazon one that was under $25 – https://a.co/d/iYotIsV
- Golf Club Wedges: Ensure your wedges are clean and free of any dirt or debris.
- Weighted Hammer – you can use a regular hammer but I found the heavy one easier
- Rubbing Alcohol and Cotton Balls: To clean the clubhead thoroughly before stamping.
- Masking Tape: Use this to mark the area for stamping to maintain alignment.
What is a Metal Stamping Kit?
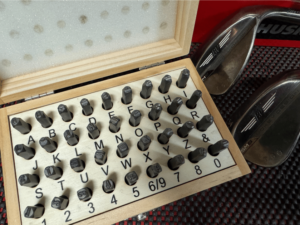
A metal stamping kit typically includes a set of metal stamps, a hammer, and a steel block. The one I bought was just the stamps. These stamps feature different letters, numbers, and symbols, allowing you to imprint designs and text onto metal surfaces. A steel block can provide a sturdy surface for stamping, and the hammer is used to apply force to the stamp, creating an impression on the metal.
The Amazon kit I got had A-Z and numbers 1-9. I found it to be a versatile stamping set that worked perfectly for my clubs…unless you want some characters. It includes a set of high-quality, durable letter and number stamps that allow you to customize your golf club wedges. This set was quite affordable, making it a great investment for golfers who want to add a personal touch to their equipment.
Step-by-Step Guide To Stamping Wedges
Now, let’s get into the nitty-gritty of how to use the Amazon Metal Stamp Kit to stamp your golf club wedges:
1. Prepare Your Clubhead
Before stamping, clean the clubhead thoroughly with soap and water. Followed by some rubbing alcohol and a cotton ball. This ensures the surface is free of any dirt, oil, or residue that might hinder the stamping process. Allow the clubhead to dry completely before proceeding.
2. Plan Your Design
Decide on your design. It could be your initials, a special symbol, or anything meaningful to you. Use masking tape to mark the area where you want to stamp. This will help create a guide for a straight and even alignment for your design.
3. Select the Appropriate Stamps
Take a moment to select the appropriate stamps from the set. Ensure the characters you’ve chosen align with your design plan. The set includes both letters and numbers, allowing you to get creative with your customization.
4. Position the Stamp
Position the stamp where you want your impression to be and hold it securely against the metal blank. Make sure it’s aligned with your tape.
5. Stamp It!
Using your hammer, strike the stamp with a firm, even force. You don’t need to swing like a blacksmith; consistent pressure will produce the best results. One or two well-placed strikes are usually sufficient.
6. Lift and Inspect
Gently lift the stamp and inspect your work. You should see a clear impression on the metal. If it’s not deep enough, you can restamp it, but be careful not to overlap with the previous impression. If it is not deep enough, carefully place the stamp the exact spot and give it a couple more whacks.
7. Repeat, Get Creative and Keep Stamping
Continue this process for the rest of your design, changing stamps as needed. Experiment with different combinations and patterns to create a unique piece.
8. Finish and Polish
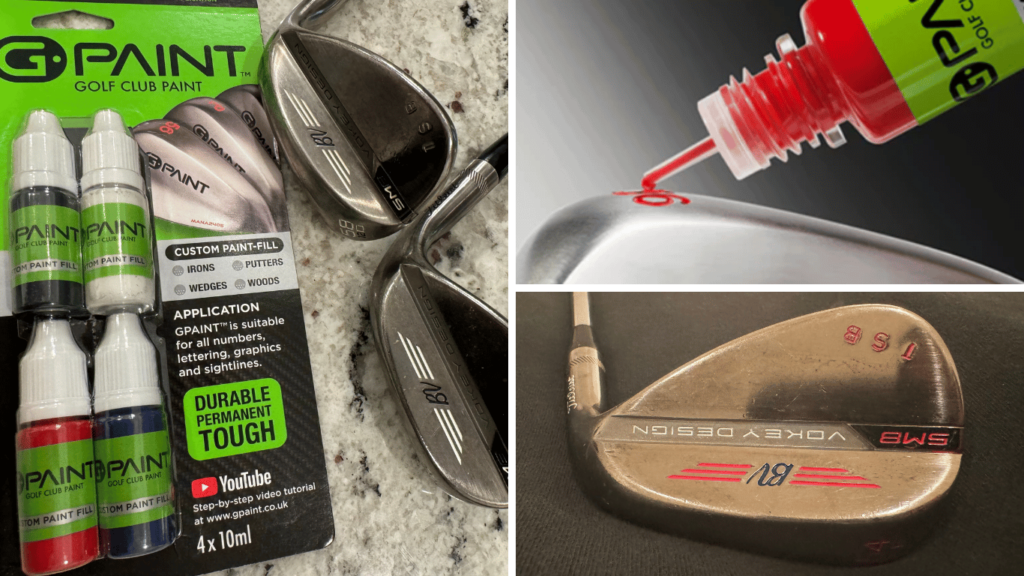
Once you’re satisfied with your stamped design, you can finish the piece. This may include filing the edges, adding a patina, or polishing the metal to achieve the desired look.
Tips for Success
- Practice on some old clubs or some scrap metal before working on your final project to gain confidence and ensure accurate placement.
- Use light taps with the hammer and gradually increase force as needed. Excessive force can lead to distortion or unwanted impressions.
- Maintain a steady hand and a consistent angle when stamping.
- Keep your stamps clean and free of ink or debris to ensure a clear impression.
- Be patient and have fun. Metal stamping is an art, and each piece you create is unique.
With this cheap Amazon Stamping Kit, stamping your golf club wedges is a straightforward, enjoyable and easy process. It allows you to make your clubs uniquely yours, providing a personal touch that sets you apart on the golf course. Additionally, helps you identify your clubs walking off the green. So go ahead, get custom, and enjoy some fresh swag on your sticks.

