Customize Your Golf Clubs – Paint Fill Process
G-Paint: The Easy Way To Paint Fill Your Clubs
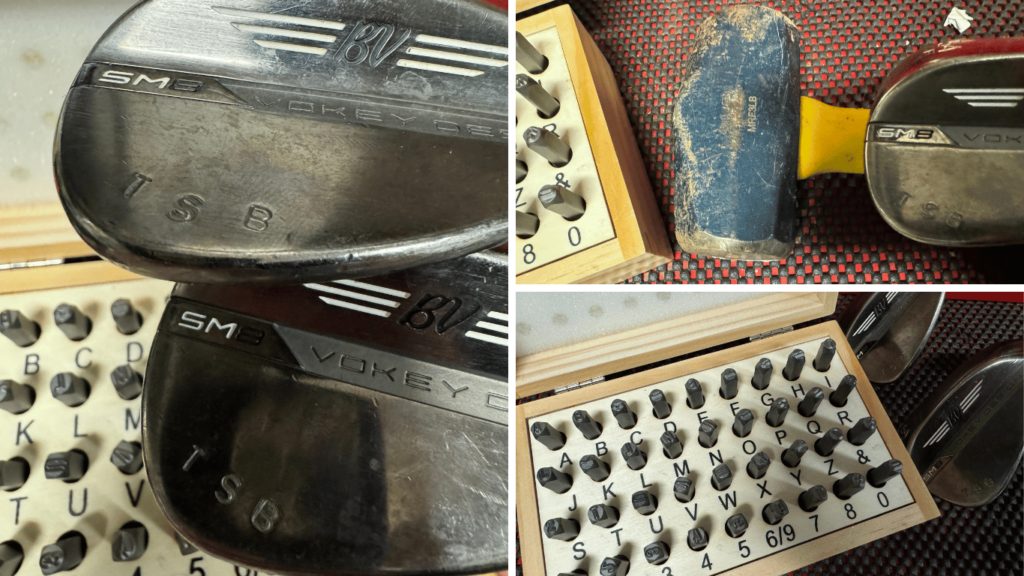
As a golfer, I know how tough it can be to hone your skills and find the right equipment. Honestly – paint filling your clubs won’t help your chipping. But as they say – look sharp, feel sharp, BE SHARP. I have always seen how PGA pros have really cool wedges with stamps and paint fill customization. I shared how to stamp your wedges (here) but recently took it one step further with paint filling. The results are amazing and they look SO much better. I went with G-Paint from Amazon – but any acrylic or enamel paints designed for metal applications will work.
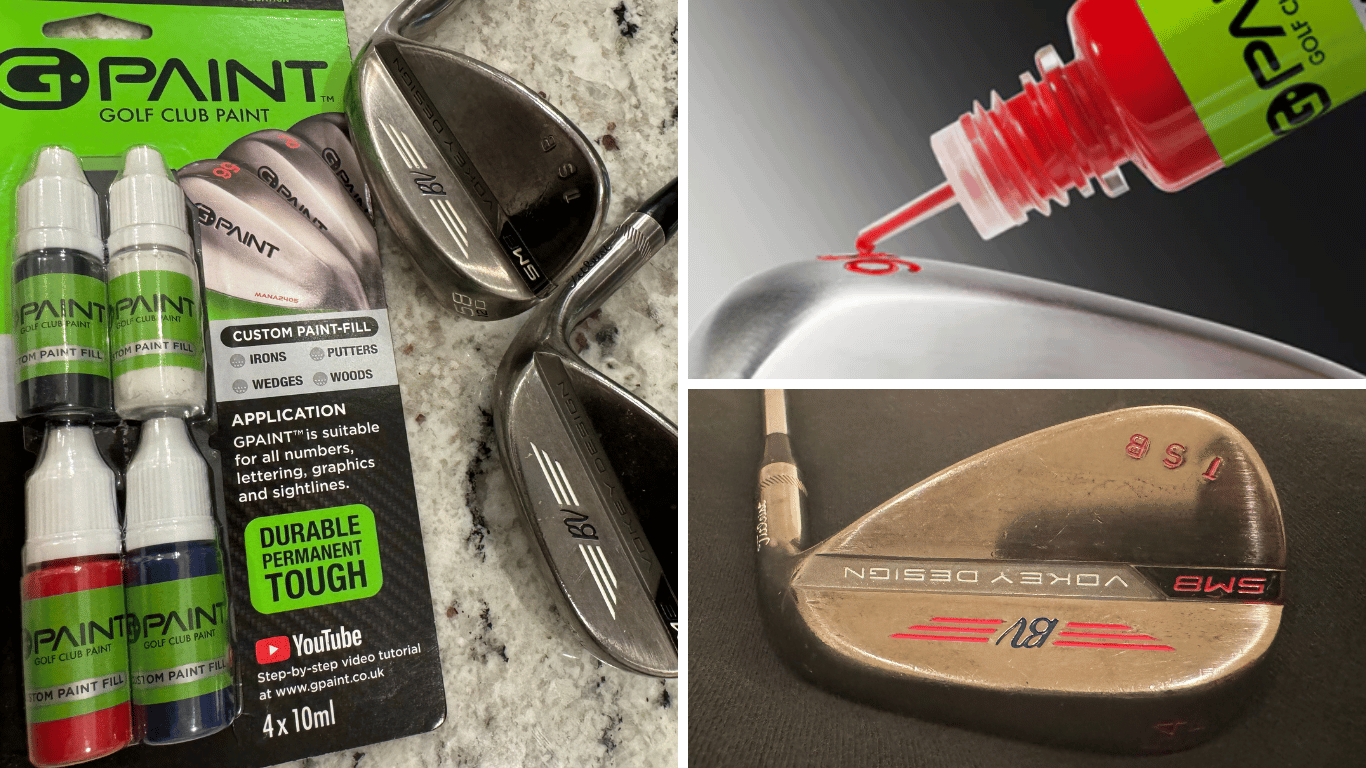
Below is a walk-through on how to paint-fill your clubs and the results. G-Paint makes it super easy with the applicator and I think it is worth the extra price.
I started with just doing red – but liked it so much I kept going, adding blue and white to the Titleist and Vokey Design Logos.
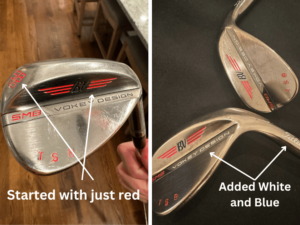

G-Paint: What is it?
G-Paint is dedicated golf club paint designed specifically for paint-filling golf clubs. With a super accurate applicator, G-Paint makes this process easy. The outcome has to be worth a couple of strokes? This isn’t just any random pack of paints. It’s the Rolls Royce of golf club paint. Each color in the kit is designed to provide the perfect pop to your clubs, turning them from ordinary to full custom in minutes. Your golf clubs aren’t just tools, they’re an extension of your game, your style, and your personality.
Quality
G-Paint’s signature acrylic formula is specifically designed for metal surfaces, ensuring long-lasting and durable results that won’t chip or fade easily. No need to worry about scratches or scuffs either – the paint will hold up through all your swings and strokes, making sure your clubs are always looking dialed.
G-Paint Reviews
G-Paint has 4.5 stars on Amazon with most users highlighting the ease of use of G-Paint and the results. Also, the durability of the paint has been put to the test on fairways, rough and mulch and it has come out unscathed, time after time for me.
Color Options For Paint Fill
G-Paint’s palette is as extensive as you could want. Blue, black, white, red, yellow, orange, pink just to name a few are all available on Amazon.
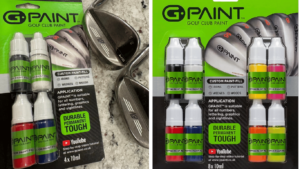
Easy Application
Ease of use? G-Paint makes it easy with super small applicators (tips) that allow you to fill the club logos as easily as possible.
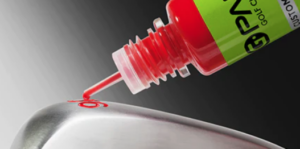
Step by Step: How To Paint Fill Golf Clubs with G-Paint
Let me guide you through the process, making sure your clubs are looking fly as can be.
Step 1: Preparation
Just like any great artist, you need to prep your canvas. Here’s how.
To prepare your golf clubs for the G-Paint makeover, think of it like prepping for a huge tournament. Begin by using a mild soap and a soft-bristled brush to remove dirt and grime from your clubs. Then, with a dab of acetone or rubbing alcohol on a cloth, gently wipe away any remaining oils or residues. Remember, be gentle – we’re not refinishing your clubs! This step ensures your clubs are as clean as can be, allowing the G-Paint to adhere properly so you can show off your soon-to-be fire custom golf clubs. Now your clubs are ready to be paint-filled!
Step 2: Choosing Your Color
Time to pick your potion – I went with the red, white, blue and black kit. But they have just about any option. Again you can also use any acrylic or enamel paints designed for metal applications.
Step 3: The Painting Process
Now that you’ve chosen your colors, it’s time to embrace your inner Picasso and get painting. Start by filling in the sections of the club you want to spice up with your chosen G-Paint color. Be bold and be you! (A wise man once said – if its too bold you are too old). Once you’re done, take a square paper towel and fold it up a couple times until it forms a small square with a straight edge. Now here’s the trick. Dip that straight edge into some rubbing alcohol, and wipe away any excess paint. You are just trying to wipe away the paint that is not filled in the stamps.
Pro Tip – don’t let the paint dry too much. You can wipe the excess paint away immediately and I found that easier than waiting before the first wipe. Also if anything goes wrong, just start over. I taped off sections of the club – clubface grooves and areas I didn’t want to paint with painter’s tape.
This YouTube video is also super helpful from GPaint – HERE
Step 4: The Finishing Touches
Done – let those bad boys dry for a bit. I cleaned them one last time.
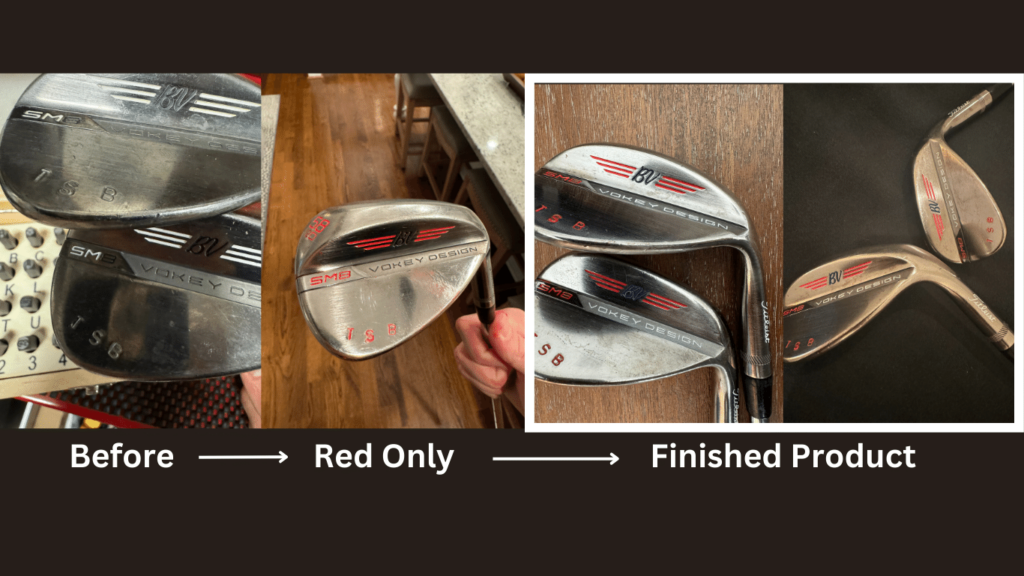
G-Paint Final Thoughts
My experience with G-Paint was fantastic, and their paint customization product added a level of personalization that has made my golf wedges look fire. Their high-quality paint, instructions, and applicators ensure the paint is there to stay. If you’re looking to add some swag to your golf clubs, I highly recommend checking out G-Paint USA. The steps to paint fill your golf clubs are simple to follow and can bring new life to your golf clubs.
In the end, this is a super easy fun project that took me less than an hour for 2 clubs. Scoop some G-Paint on Amazon below.

